Agora Quality Solutions
Ensuring Inspection Excellence with Expertise
Services
Phased Array Ultrasonic Testing (PAUT)
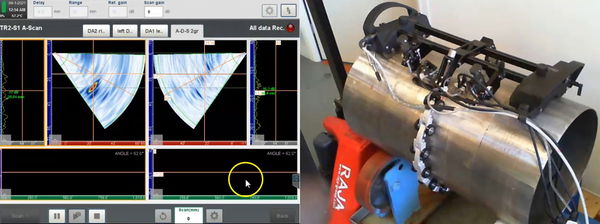
Phased Array Ultrasonic Testing (PAUT) is an advanced nondestructive examination technique that utilizes a set of ultrasonic testing (UT) probes made up of numerous small elements, each of which is pulsed individually with computer-calculated timing (“phasing”). When these elements are excited using different time delays, the beams can be steered at different angles, focused at different depths, or multiplexed over the length of a long array, creating the electronic movement of the beam. Phased array probes can be used manually in a free running mode scrubbing the surface of a component, attached to an encoder to record position, or mounted on a semi-automated or motorized scanner for optimum productivity. Using phased array probes in direct contact with the component, whether mounted on a hard wedge, a water delay line, or even inside a wheel probe, gives inspectors the ability to quickly scan large areas for corrosion, cracking, and other defects with high resolution. PAUT can be used to inspect almost any material where traditional UT methods have been utilized and is often used for weld inspections and crack detection.
Time of Flight Diffraction (TOFD)
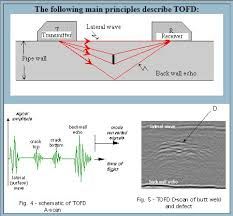
Time of Flight Diffraction (TOFD) is a reliable method of nondestructive ultrasonic testing (UT) used to look for flaws in welds. TOFD uses the time of flight of an ultrasonic pulse to find the location of a reflector. It can also be used for weld overlays and the heat affected zones of other components as well such as piping, pressure vessels, clad material, storage tanks, and structural steel.
Visual Inspection
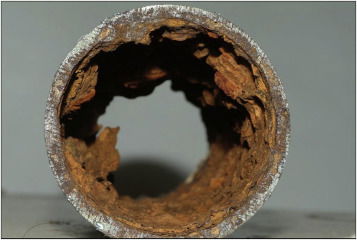
Visual Inspection (VI), or visual testing (VT), is the oldest and most basic method of inspection. In its simplest form, visual inspection is the process of examining a component or piece of equipment using one’s naked eye to look for flaws. Optical aids such as illuminators, mirrors, borescopes, etc. can be used to enhance one’s capability of visually inspecting equipment. Cameras, computer systems, and digital image analyzers can also be used to further the capabilities and benefits of visual inspection.
Ultrasonic Testing (UT)
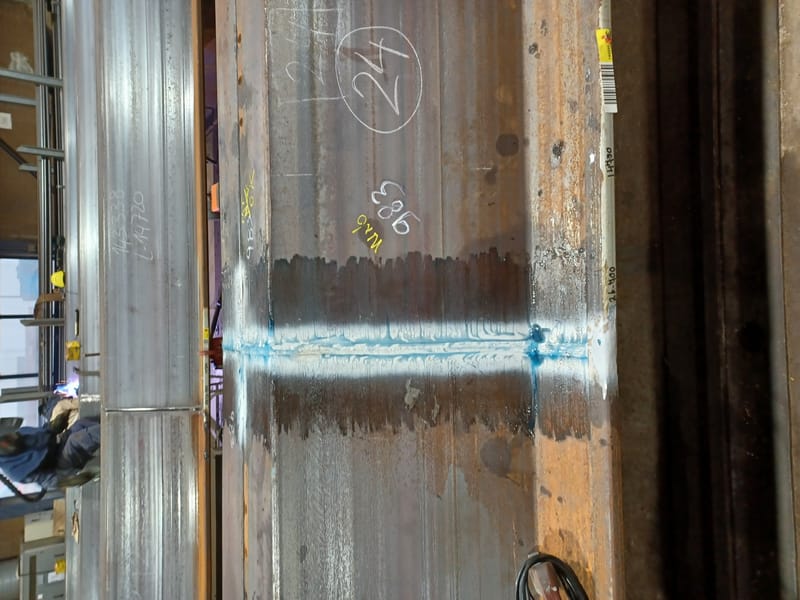
Ultrasonic Testing (UT) is a group of nondestructive examination (NDE) techniques that use short, high-frequency ultrasonic waves to identify flaws in a material. They generally work by emitting waves into a material. By measuring these waves, the properties of the material and internal flaws can be identified. Most UT devices consist of many separate units. These can include pulsers and receivers, transducers, and display monitors. The components included depend on the type of UT that the inspector is performing.
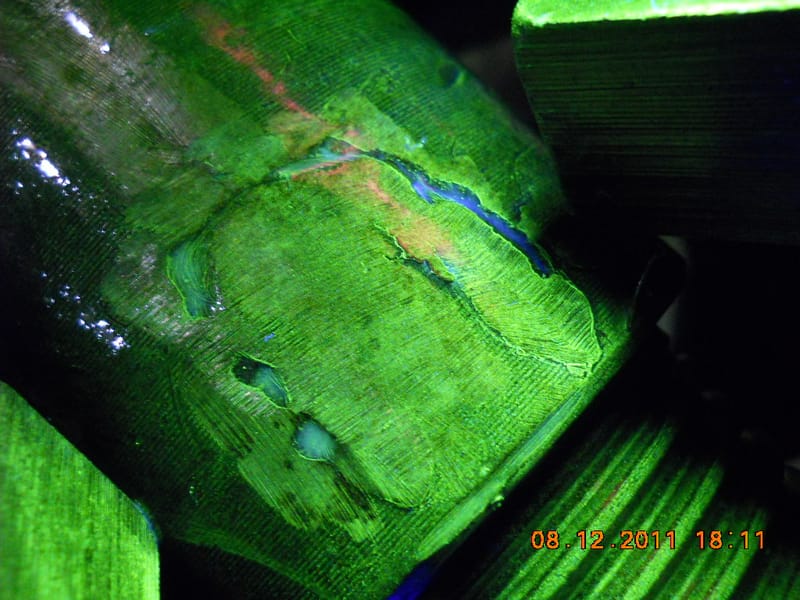
Magnetic Particle Testing (MPT)
Magnetic Particle Testing (MPT), also referred to as Magnetic Particle Inspection, is a nondestructive examination (NDE) technique used to detect surface and slightly subsurface flaws in most ferromagnetic materials such as iron, nickel, and cobalt, and some of their alloys. Because it does not necessitate the degree of surface preparation required by other nondestructive test methods, conducting MPT is relatively fast and easy. This has made it one of the more commonly utilized NDE techniques.
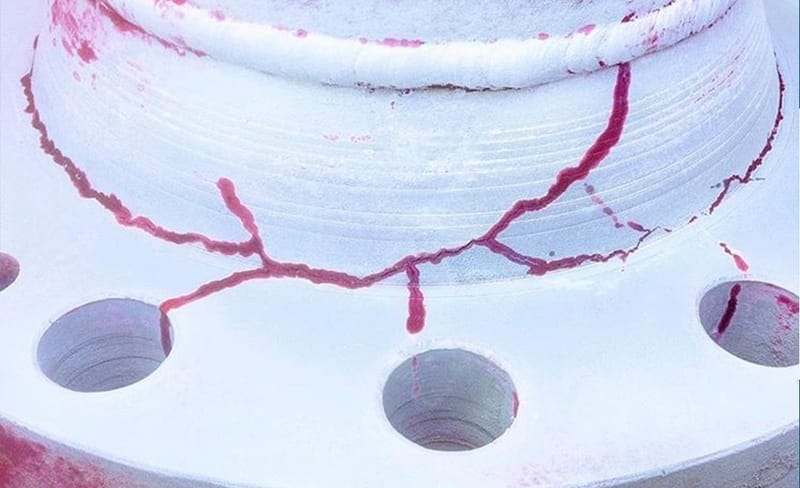
Liquid Penetrant Examination (LPE)
Liquid Penetrant Testing, also referred to as penetrant testing (PT), liquid penetrant examination (LPE), and dye penetrant testing (DP), is a nondestructive examination (NDE) method that utilizes fluorescent dye to reveal surface flaws on nonporous materials (metals, plastics, or ceramics) which might not otherwise be visible.
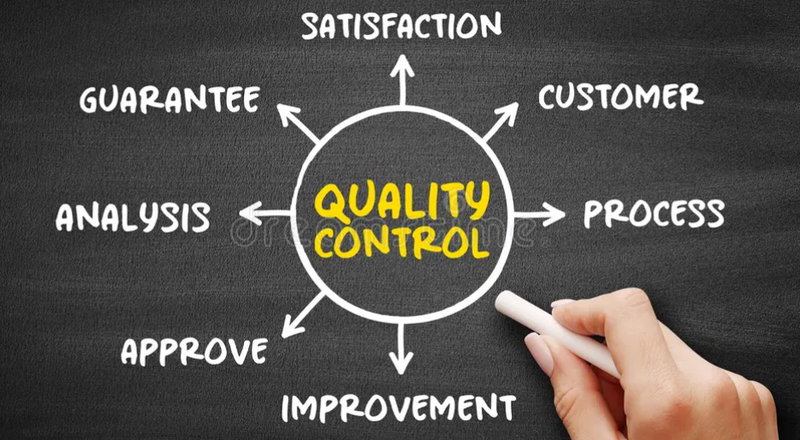
Quality Control (QC)
Quality Control (QC) is the process of ensuring that the quality of a product or service has met certain predetermined standards. QC involves preventing defects in the finished products after they have been developed or manufactured.
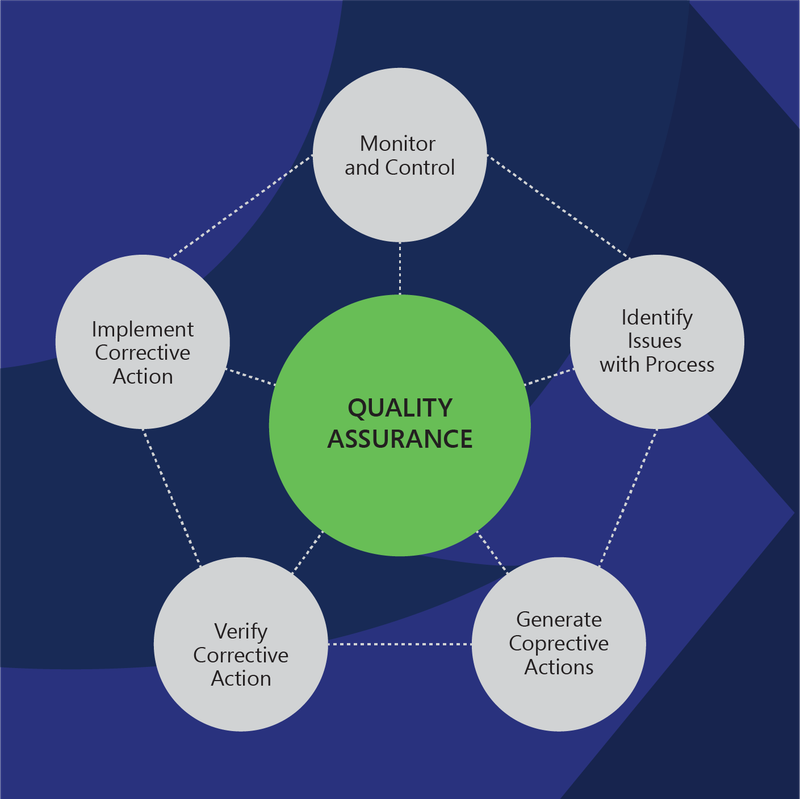
Quality Assurance (QA)
Quality Assurance (QA) is a process that is used to control and improve the development of a product or service to ensure it will meet all specifications and requirements. QA involves improving the product development and manufacturing process, rather than looking at the end products themselves. The overarching goal behind QA is to prevent flaws or defects before they occur. QA involves improving processes such as design, worker training, document control, management, and process audits. This is because flaws in these processes can lead to flaws in the products or services offered to customers further down the line.

Drilling and Completions Tools Inspection
Inspectors’ Core Competencies Includes knowledge areas of API, DSI V3-4, MPI, LPI, UT, Calibrations frequencies, Makeup/Breakout Operations, Visual Thread Inspection, Critical Seal Areas Inspection, Thread stab/flanks profiles and tapers, critical dimensions, Auditing, Machine repairs, premium thread inspections. A general but not exhaustive list of tools and or equipment: - Drill Pipe - Oil Country Tubular Goods (OCTG) - Bottom Hole Assembly - Specialty tool and Fishing tool - Cementing Equipment & Accessories - Whipstocks - Liner Hangers & Accessories - MLWD / RSS Motors - Solids Control Equipment - Wellbore Cleanout Tools - Coil Tubing - Pressure Control Equipment
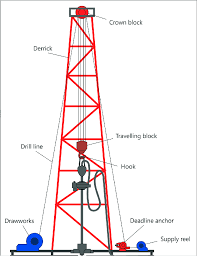
Drilling Hoisting Equipment Inspection
- Casing, tubing, drill pipe and drill collars elevators - Sucker rod elevator - Spiders when capable of use as elevators - Manual tongs - Safety clamps when capable of use as hoisting device
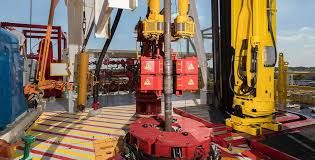
Drilling Handling Equipment
- Bushings & insert bowls - Slips - Spiders not capable of use as elevators - Manual tongs - Safety clamps not capable of use as hoisting device
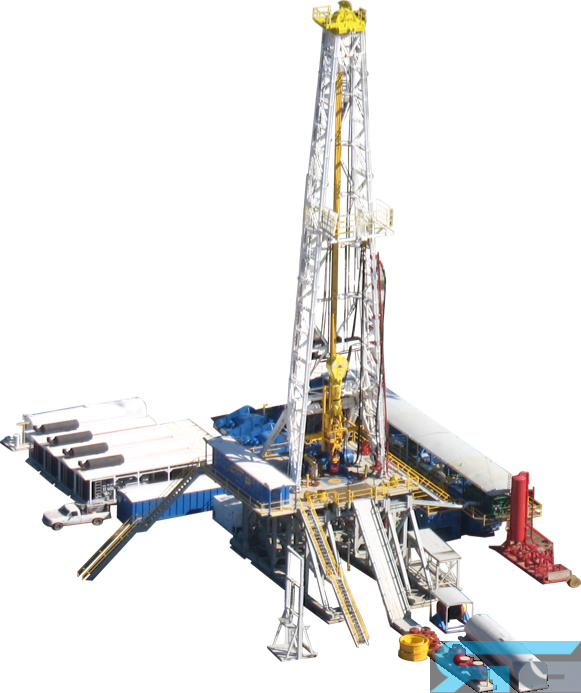
Rig Inspection
Periodic inspection, examination and testing of oil and gas drilling and well servicing structures and associated equipment. Equipment covered: - Elevator Links - Crown block - Drilling hook - Travel Block - Anchoring system - Brake system - Rotary swivel - Top drive - Masts - Base mast section - Substructure - Racking board - Hydraulic Cathead - Counterweight - Turnbuckles - Stair & anti fall system - Skid base - Winch - Deadline anchor
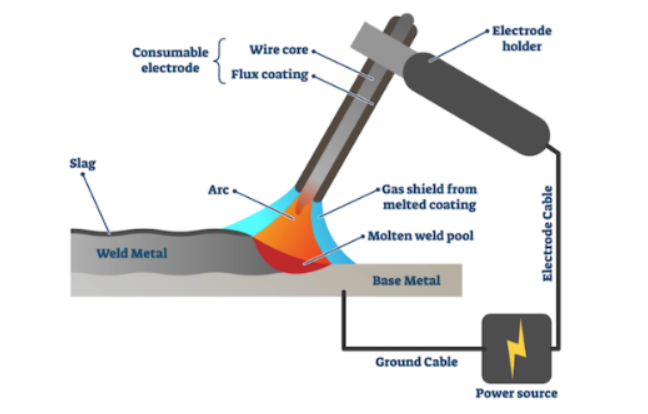
Welding Inspection
The role of welding inspection is vital throughout the entire welding process, from the very early stages of planning through completion of the weld. Welding inspection activities are grouped into three different stages, as denoted below: 1. Activities Prior to Welding It’s crucial not to rush into welding operations without proper planning and preparation. The welding inspection activities that are performed prior to the actual operations can prevent a whole host of problems that might have arisen otherwise. Besides that, it’s easier (and generally less costly) to correct issues before they arise rather than after a weld has been completed. 2. Activities During Welding Operations Since planning and preparation are completed prior to the welding operations, the objective of welding inspection during the operation should be to verify that the welding is being performed in line with the established procedures. 3. Activities After Welding After completion of the welding, it’s important to make sure that the quality of the final weld is appropriate for placing the weldment in service.